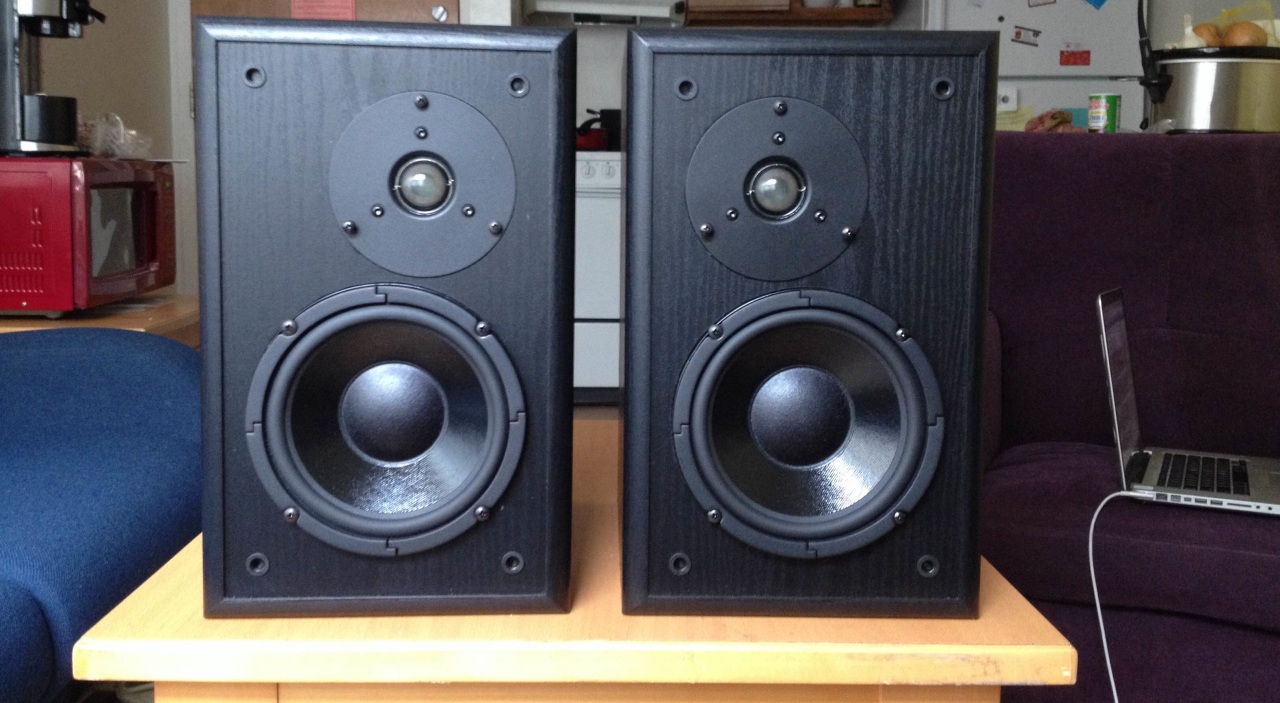
This post is not meant to give you detailed instructions on the BR-1 assembly. The professionals have already done that here: https://www.youtube.com/watch?v=t_e1Ex8yJ6g and here: https://www.youtube.com/watch?v=c-N_vx6oOVE.
However, my experience of building the kit was not quite as simple as they’ll have you think from watching those tutorial videos. This post will be a good supplement to anyone who is building the kit. It has some work arounds for when you don’t have all the right tools, and some tricks I found useful along the way.
TOOLS
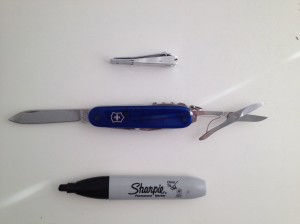
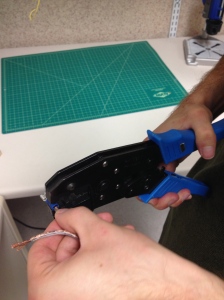
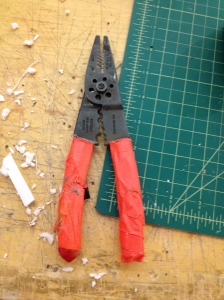 You’ll also seed a hot glue gun and a crimp tool.
CROSSOVER
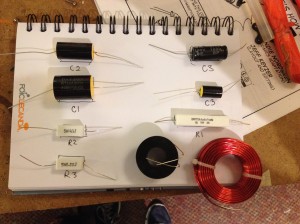
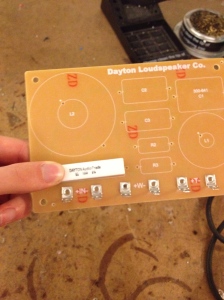
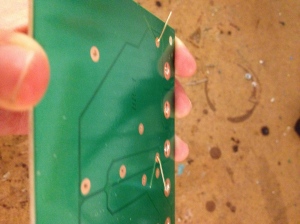
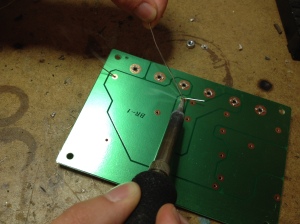
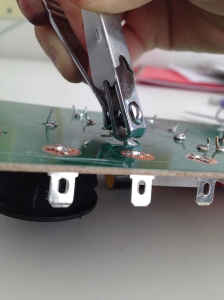
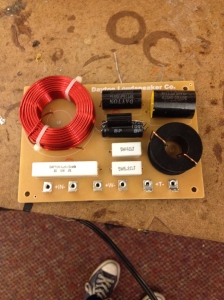
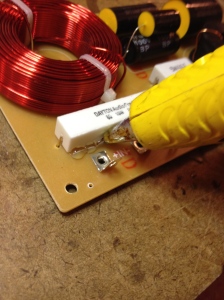
I arrange my components like this to ensure that I don’t make a mistake. You’ll also notice my special high quality wire cutting tool: fingernail clippers. If you don’t have wire cutters that can make a cut that is flush with your solder joint, fingernail clippers are a great work around. It’s important to clip the wires flush with the joint in order to glue the crossover to the cabinet later.
WIRES
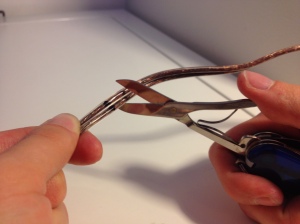
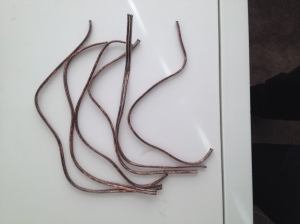
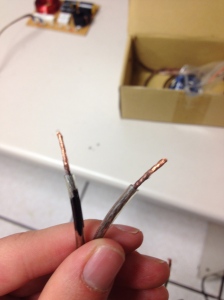
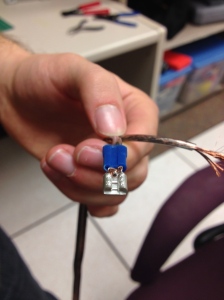
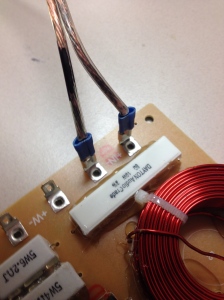
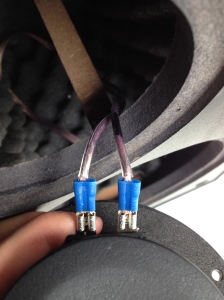
Mark your cable before you cut so you don’t make any mistakes. I also took a sharpie and marked one side of each cable black for negative, so that I don’t make polarity mistakes later when the crossover circuit is difficult to see.
ACOUSTIC FOAM INTERIOR
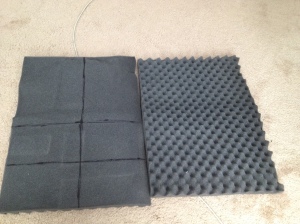
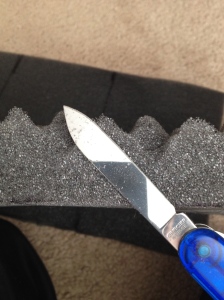
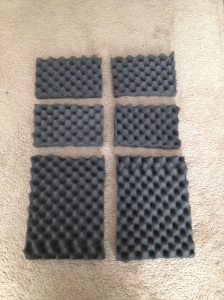
When you’re cutting your foam, proportions are more important than exact inches because the piece of foam they give you often isn’t exactly the right size. Maybe according to the manual, 9″ from one side is half way, but after you cut, you might find that your other piece is only 7 1/2″ wide. Darn. So find the halfway point for your particular piece of foam. I found that angling my knife away from the direction I was cutting made the cleanest edges.
PUTTING IT ALL TOGETHER
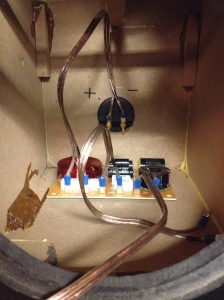
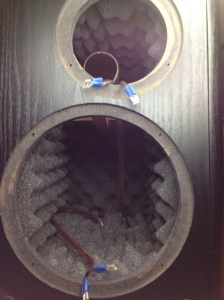
Here you can see that marking the cables was a really good idea as the crossover circuit gets completely covered with foam. I also marked the back of the cabinet for polarity. The polarity is marked on the terminal block, but it is hard to see on the black plastic. I also found that I didn’t need to use all of the foam they gave me to completely cover the interior of the cabinet, and once I got all the foam in there, it was held in place by friction and tension from all the other pieces of foam. I didn’t feel the need glue the foam into place. I’m only a bit worried about the top piece. I’ll probably go back and glue that one at a later time.

